Odoo 18 Interface Basics
- System Login.
- Start Menu and Applications.
- Navigation in Odoo 18.
- Developer Mode.
- Data Grouping and Filtering.
- Actions, Automation, and Notifications.
- Chatter and Log.
- Using Chat.
- Helpful Tips.
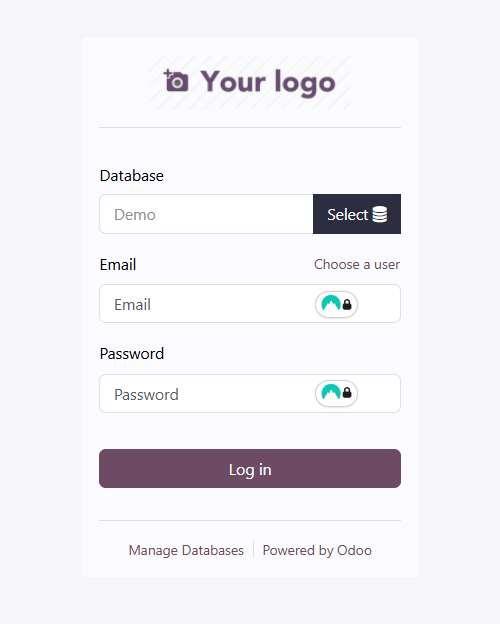
1. System Login
-
Open Browser: Launch your preferred web browser (e.g., Chrome, Firefox, Safari).
-
Enter Address: Enter the URL address of your Odoo installation.
-
Enter Credentials:
- Email: Enter your email address.
- Password: Enter your password.
-
Login: Click the "Log in" button.
2. Start Menu and Applications
-
Start Menu (Website): After logging in, you will land on the start page (Website).
-
Navigation Between Menu Sections (Applications):
- Menu Sections (Applications): To view all available menu sections, click on the "Home menu" icon in the upper left corner of the screen.
- Go to Favorite Menu: Select one of the menu sections (application) and navigate to it.
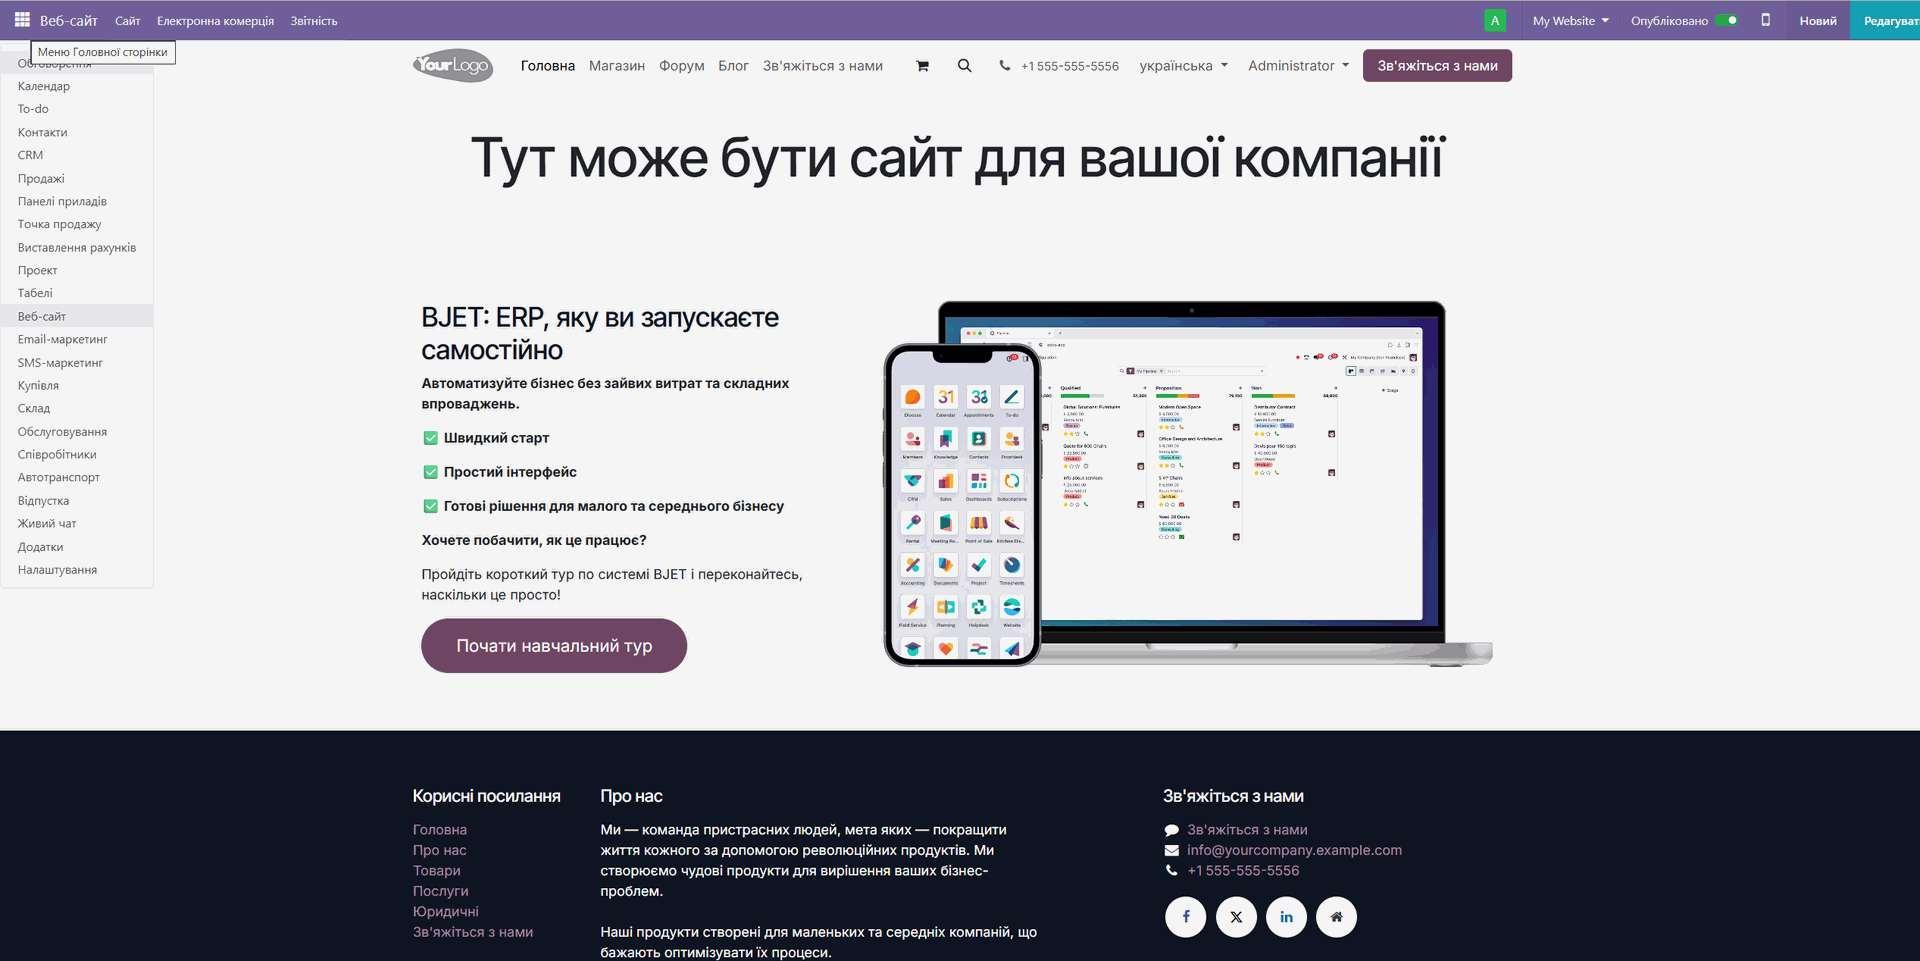
- Application Main Menu: Each application has its own main menu, which is usually located at the top of the screen. It contains various options and functions specific to that application.
3. Navigation in Odoo 18
- Breadcrumbs Panel: At the top of each screen you will see a breadcrumbs panel. It shows your current path in the system and allows you to easily return to previous pages.
- Dropdown Menus: Many fields in Odoo have dropdown menus that allow you to quickly select values from a list. You can start typing text to filter the list.
- Related Records: In many records you will see links to other related records. For example, in a sales order you can see links to the customer, products, and invoices. Click on a link to navigate to the corresponding record.
- Using Keyboard:
-
General
- Ctrl + K: Open search panel.
- Ctrl + S: Save current record.
- Ctrl + /: Open/close sidebar (if activated).
- Esc: Close current window or dialog.
- Ctrl + Alt + Shift + D: Show/hide debug information (in developer mode).
-
Navigation
- Up/Down arrows: Move between menu items and records.
- Enter: Open selected menu item or record.
- Alt + ←: Back to previous page.
- Alt + →: Forward to next page.
-
Editing
- Ctrl + C: Copy selected text.
- Ctrl + X: Cut selected text.
- Ctrl + V: Paste copied or cut text.
- Ctrl + Z: Undo last action.
- Ctrl + Y or Ctrl + Shift + Z: Redo last undone action.
- Tab: Move to next field.
- Shift + Tab: Move to previous field.
-
Lists
- Ctrl + A: Select all records in list.
- Delete: Delete selected records (requires access rights).
-
Forms
- Ctrl + Enter: Save and close current form.
-
Chat
- Ctrl + Shift + C: Create new chat channel.
-
Developer Mode
- Ctrl + Shift + Q: Open View Form.
- Ctrl + Shift + M: Open View Model.
-
Clarifications and Additions
- Search: In the search panel (Ctrl + K) you can use up/down arrows and Enter to select a result.
- Editing in Lists: In some lists you can edit records directly, using Tab and Enter keys to move between fields and save changes.
- Actions: To perform actions (e.g., confirm, send) in forms, keyboard shortcuts may be available, which are displayed in action buttons.
-
Important Notes:
- Some keyboard shortcuts may depend on the specific module or Odoo application.
- Make sure you don't have browser extensions or programs installed that may intercept keyboard shortcuts.
- In some cases keyboard shortcuts may not work if they conflict with your operating system settings.
-
4. Developer Mode:
Log into Odoo as Administrator: Make sure you are logged into the system with an account that has administrator rights. Activate Developer Mode:
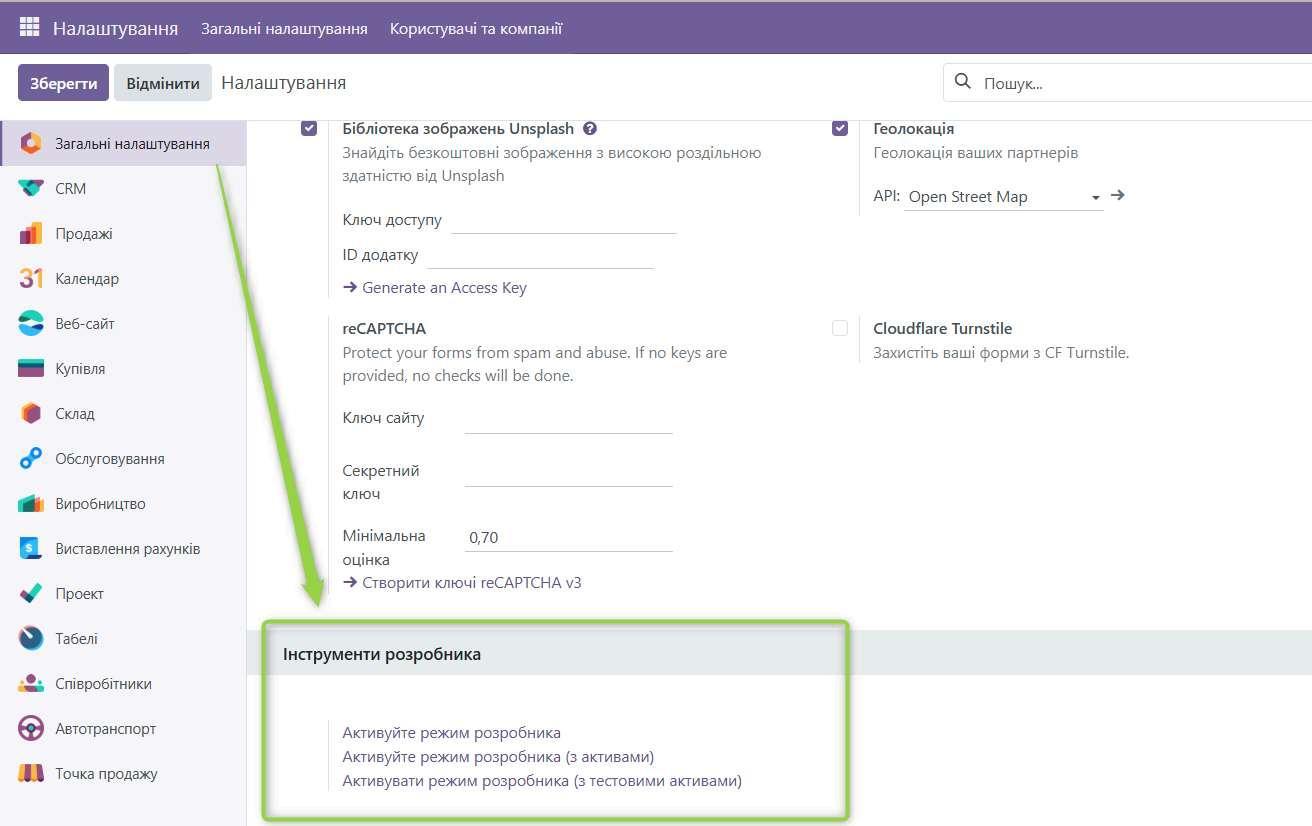
- Go to the "Settings" application and the "General settings" menu.
- Scroll down to the "Developer tools" section.
- Click on the "Activate the developer mode" link.
- Or, if you are already in developer mode, you will see the "Deactivate the developer mode" link.
Refresh Page: After activating developer mode, refresh the browser page.
What Does Developer Mode Provide?
After enabling developer mode, you will have access to:
- Additional Menu Items: In the "Settings" menu, a "Technical" section will appear, which contains many useful tools for developers and administrators.
- View Information: When hovering over fields in forms, you will see their technical names.
- Ability to View Data Structure: You will be able to view Odoo's data structure and perform other actions useful for development and debugging.
Important:
Do not leave developer mode enabled permanently in a production environment, as this may affect system performance and increase security risks. Turn it off after finishing work in it.
5. Data Grouping and Filtering
Odoo provides powerful tools for grouping and filtering data, allowing you to quickly find the information you need.
- Grouping:
- Go to Record List: Open the list of records you want to group (e.g., list of customers, products, or sales orders).
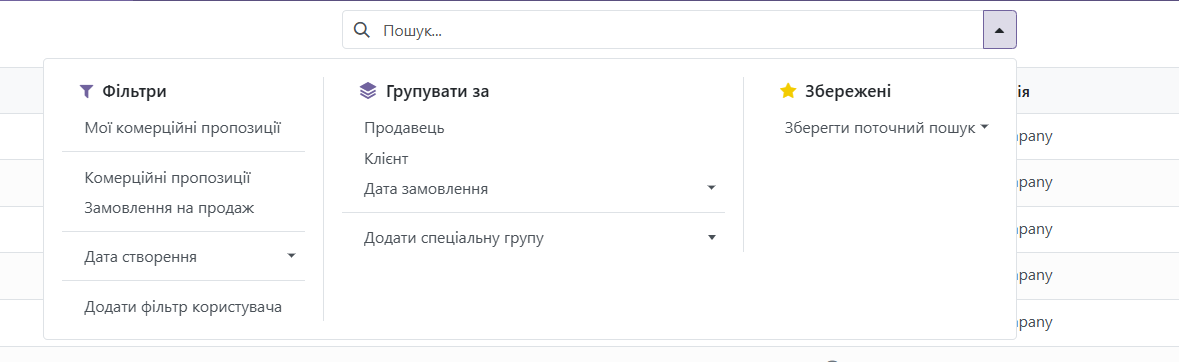
- Click "Group By" Button: This button is usually located at the top of the screen.
- Select Field to Group By: Select the field by which you want to group records (e.g., "Salesperson", "City", or "Status").
- Odoo will automatically group records by the selected field and show the number of records in each group.
- You can add multiple levels of grouping to get a more detailed structure.
- Filtering:
- Go to Record List: Open the list of records you want to filter.
- Click "Filters" Button: This button is usually located at the top of the screen.
- Select Filter: Select one of the predefined filters (e.g., "My Customers", "Open Orders", or "Products in Stock").
- Add Custom Filter: Click "Add Filter" to create a custom filter. You can use various conditions (e.g., "equals", "not equals", "contains", "greater than", "less than") and fields to filter data.
- You can combine multiple filters to get more precise results.
- Saving Filters: You can save custom filters to reuse them. To do this, click the "Save Current Filter" button and enter a name for the filter.
- Using Search Panel for Filtering: You can also use the search panel to filter data. Enter the text you want to find, and Odoo will show only those records that contain this text.
6. Actions, Automation, and Notifications
Odoo uses actions, automatic rules, and notifications to automate processes and inform users about important events.
- Actions: Actions (Activities) in Odoo are a tool for planning and tracking tasks related to database records. They help users organize their work and ensure timely completion of important tasks.
Main Characteristics and Use of Actions:
- Action Types: There are various types of actions, such as calls, meetings, emails, to-do tasks, and document uploads. The icon used to display actions depends on the action type.
- Scheduling Actions: Actions can be scheduled on any database page that contains a chatter stream, Kanban view, list view, or application activities view.
- Integration with Other Applications: Actions are integrated with other Odoo applications, such as CRM, Sales, and Calendar. For example, scheduled meetings or calls can be viewed and managed in the Calendar application.
- Viewing Actions: Actions can be viewed as a list or in activities view.
- Configuring Action Types: Users can create new action types and edit existing ones.
- Use in CRM: In the CRM application, actions are used to manage leads and opportunities. There are pre-configured action types, such as email, call, meeting, to-do task, and document upload.
- Action Plans: Action plans allow automating the creation of actions for specific processes.
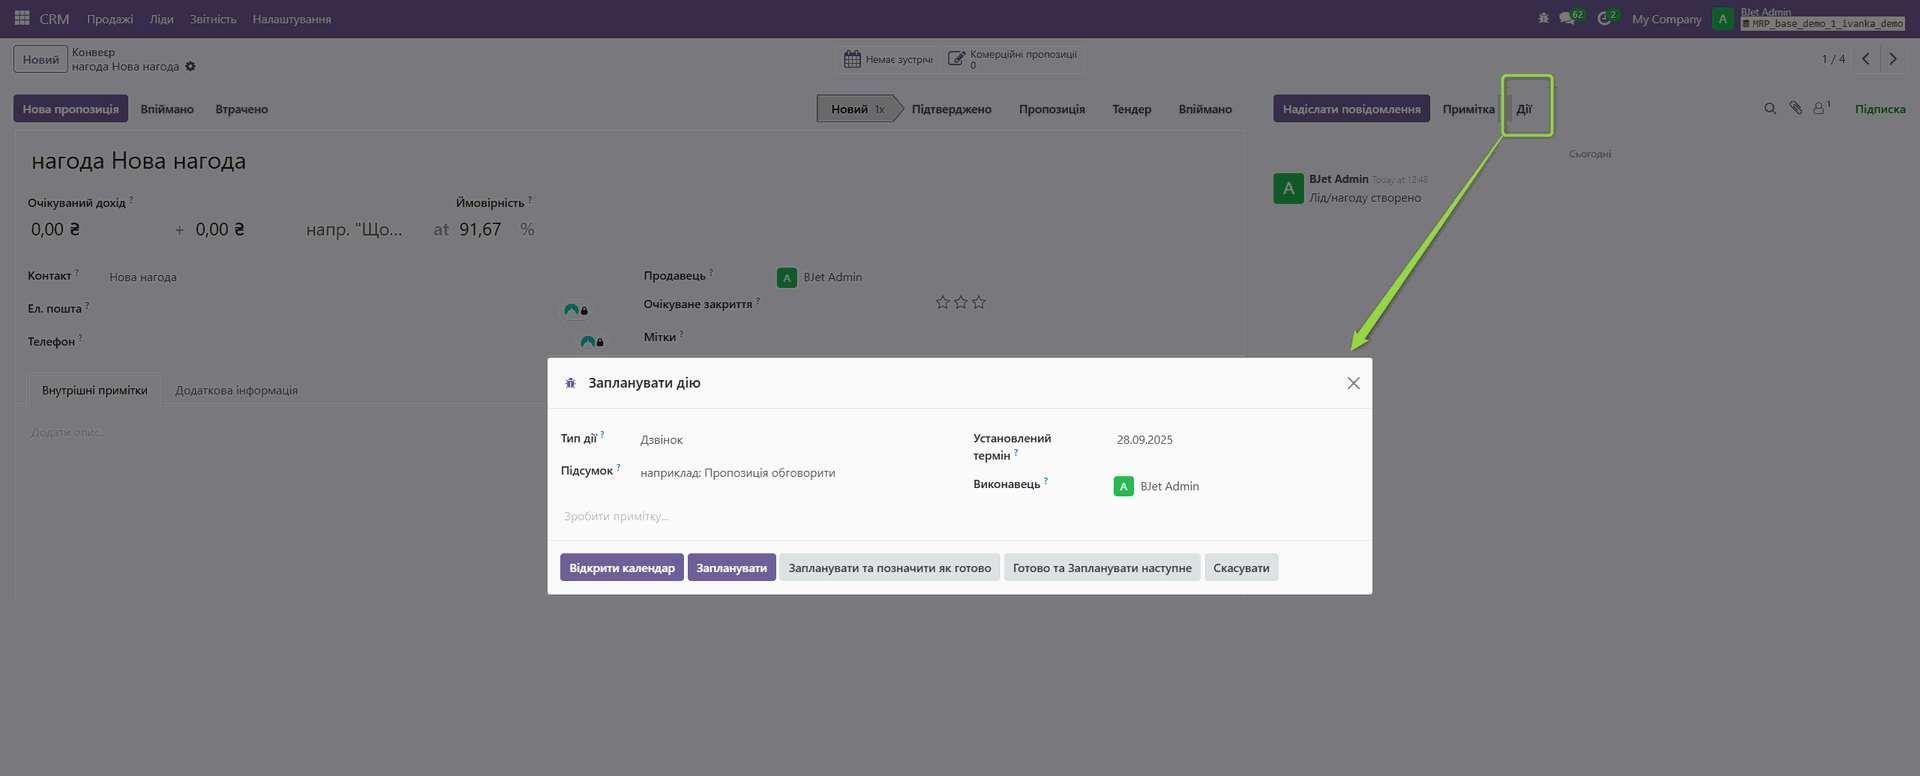
How to Create and Schedule an Action:
-
Open the record for which you need to create an action.
-
Click the "Schedule Activity" button.
-
In the "Schedule Activity" window that appears, select the action type, enter a short title, set the deadline, assign a user, and add any additional notes.
-
Click "Schedule" to schedule the action
Additional Features:
-
Notifications: Odoo sends notifications about scheduled actions.
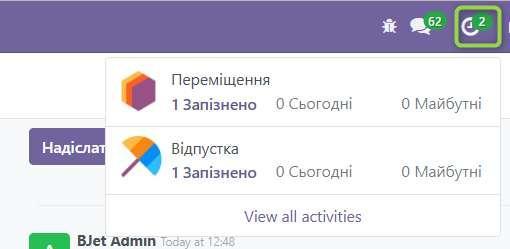
-
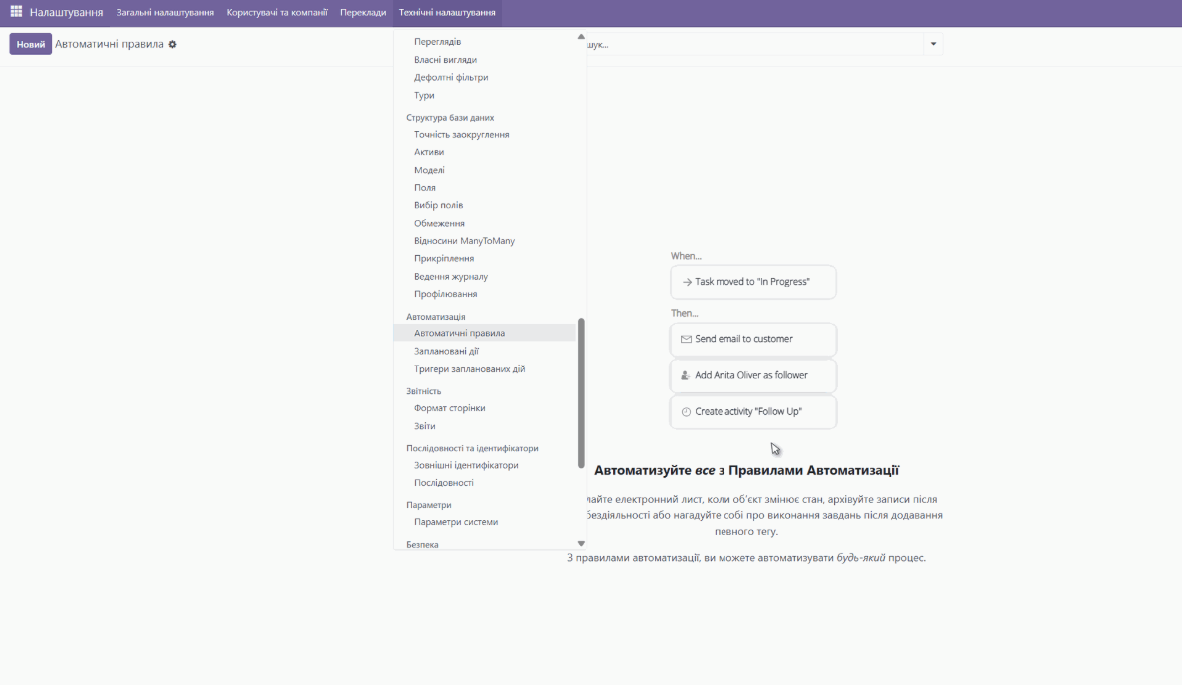
Automation:
- Automatic Rules: Odoo allows creating automatic rules that are executed under certain conditions. For example, you can create a rule that automatically sends an email to a customer when their order status changes to "Shipped".
- Server Actions: Server actions allow performing more complex operations on the Odoo server. For example, you can create an action that updates data in the database or calls an external API.
- Go to "Technical" > "Automated Actions": To create and configure rules.
-
Notifications:
- Internal Notifications: Odoo sends internal notifications to users about various events, such as new tasks, comments, or changes in records.
- Emails: Odoo can send emails to users about important events.
- Notification Settings: You can configure which notifications you want to receive in your user profile.
- View Notifications: Click on the bell icon in the upper right corner of the screen to view your notifications.
7. Chatter and Log: Communication and Change Tracking in Odoo 18 Community
Chatter and Log are important tools in Odoo that allow users to communicate, exchange information, and track changes occurring in the system.
What is Chatter?
Chatter is a social feed within Odoo that allows users to:
- Discuss records (e.g., sales orders, invoices, tasks).
- Leave comments and questions.
- Mention other users (@username).
- Attach files.
- Follow record updates.
What is Log?
Log (Journal) is an automatically generated feed that shows the history of changes that occurred with a record. It includes:
- Record creation.
- Changes to record fields.
- Changes to record status.
- Other important events.
Where to Find Chatter and Log?
Chatter and Log are usually located at the bottom of each record form or on the right, depending on screen width.
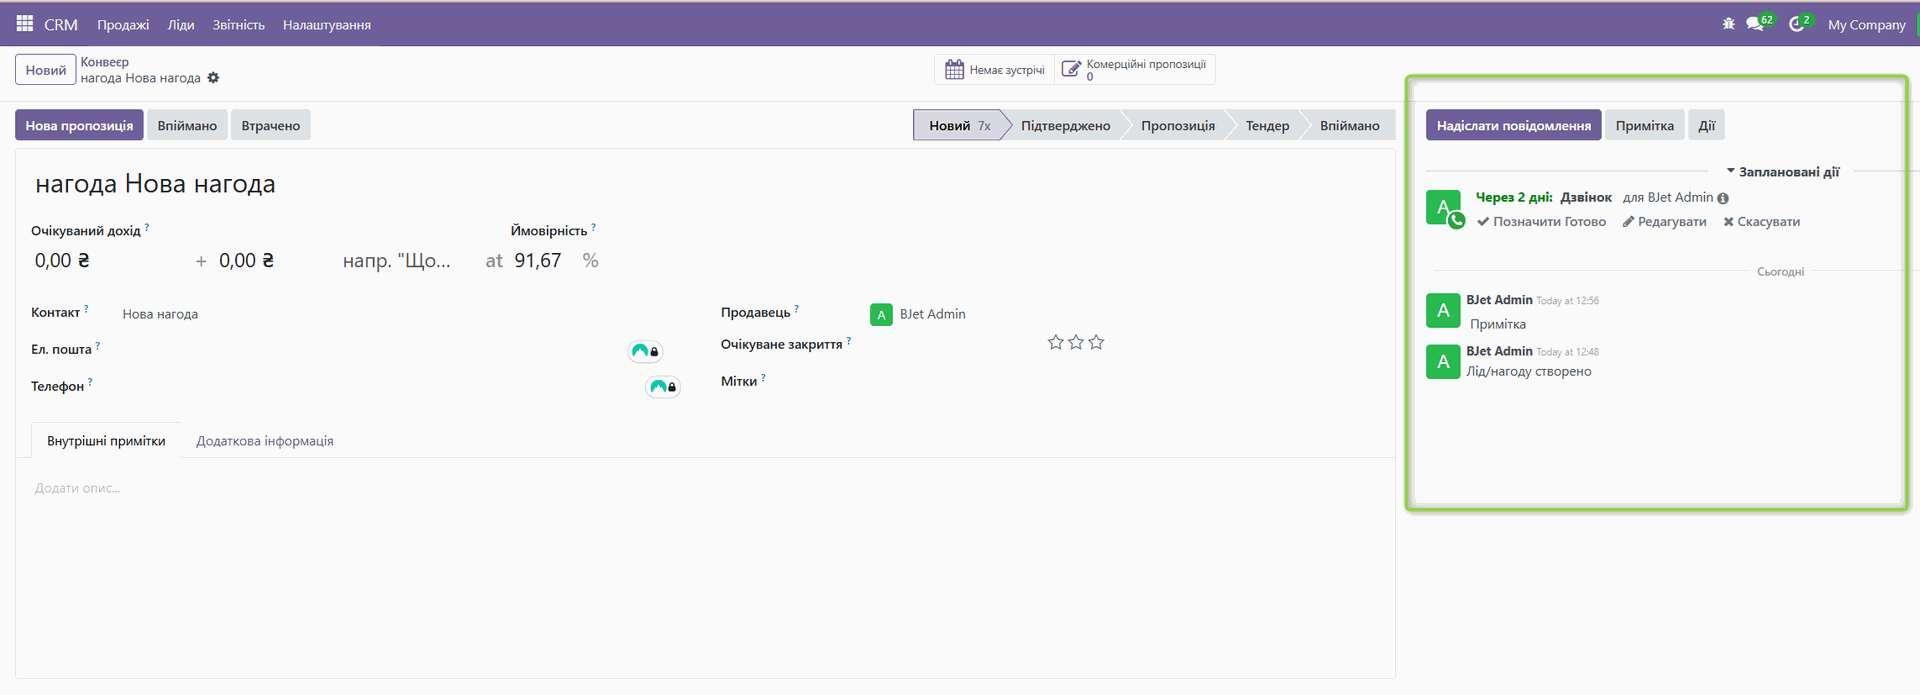
How to Use Chatter?
- Open Record: Open the record you want to interact with (e.g., sales order).
- Go to Chatter: Scroll down to the Chatter section.
- Write Message: Enter your message in the text field.
- Mention User (Optional): Enter @ and start typing the name of the user you want to mention. Odoo will suggest a list of matching users.
- Attach File (Optional): Click on the paperclip icon to attach a file to your message.
- Send Message: Click the "Send" button or press Enter.
How to Use Log?
Log is automatically generated by the system, so you don't need to enter anything. Simply review the Log feed to see the history of changes that occurred with the record.
Chatter Features:
- Follow/Unfollow: Click the "Follow" or "Unfollow" button to receive or not receive notifications about record updates.
- Internal Note: Use the "Internal Note" option to add a comment that will be visible only to internal users (e.g., your company's employees).
- Send Message: Use the "Send message" option to send a comment that will be visible to everyone, including external users (e.g., customers).
- Actions: Chatter may display action buttons that allow performing certain operations with the record (e.g., confirm order, create invoice).
Benefits of Using Chatter and Log:
- Improved Communication: Chatter allows users to quickly and easily exchange information and discuss records.
- Increased Transparency: Log provides transparency and traceability of changes occurring with records.
- History Preservation: Chatter and Log preserve the history of communication and changes, which can be useful for audit and analysis.
- Improved Collaboration: Chatter allows users to work together on records and solve problems.
Example Use:
Imagine you are working on a sales order. You can use Chatter to:
- Ask a colleague for information about product availability.
- Inform the customer about their order status.
- Attach a file with order details.
You can use Log to:
- View who created the order.
- Find out when the order status was changed.
- Track what changes were made to the order.
Chatter and Log are powerful tools that can help you improve communication, collaboration, and traceability in Odoo.
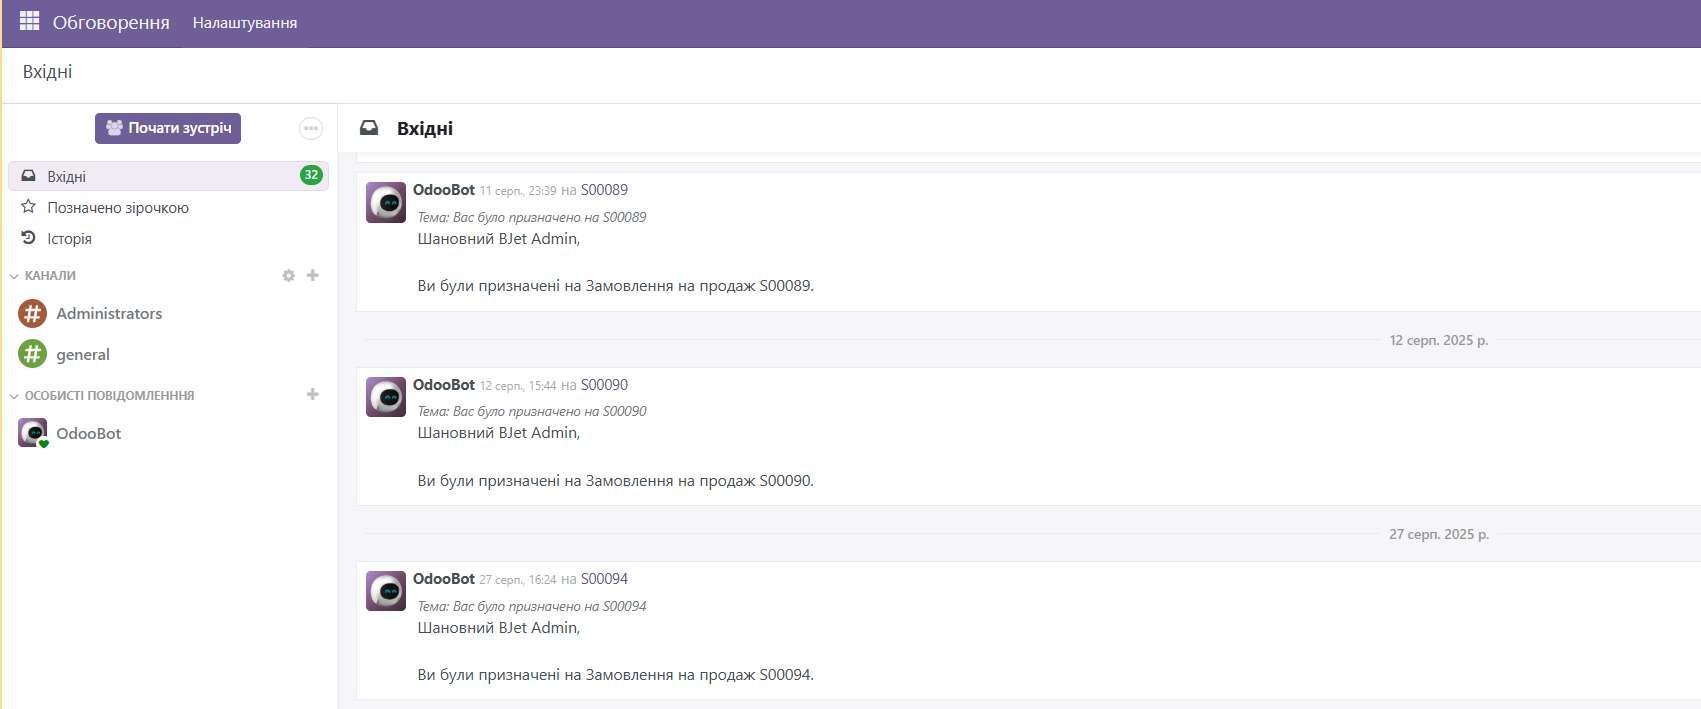
8. Using Chat
Odoo has a built-in chat that allows users to communicate with each other and exchange information. You can use chat to discuss tasks, projects, or other issues.
9. Other Helpful Tips
- Regularly Update Odoo: To ensure system security and stability, install updates regularly.
- Backup: Regularly create backups of your Odoo database.
- Documentation: Refer to the official Odoo documentation for additional information and help https://www.odoo.com/documentation/18.0/
- Community: Join the Odoo community to get support from other users and experts.
- AI Help: Use the official Odoo AI assistant help https://www.odoo.com/help