Configuration
LiqPay Website Payments
Initial setup
Before using the module:
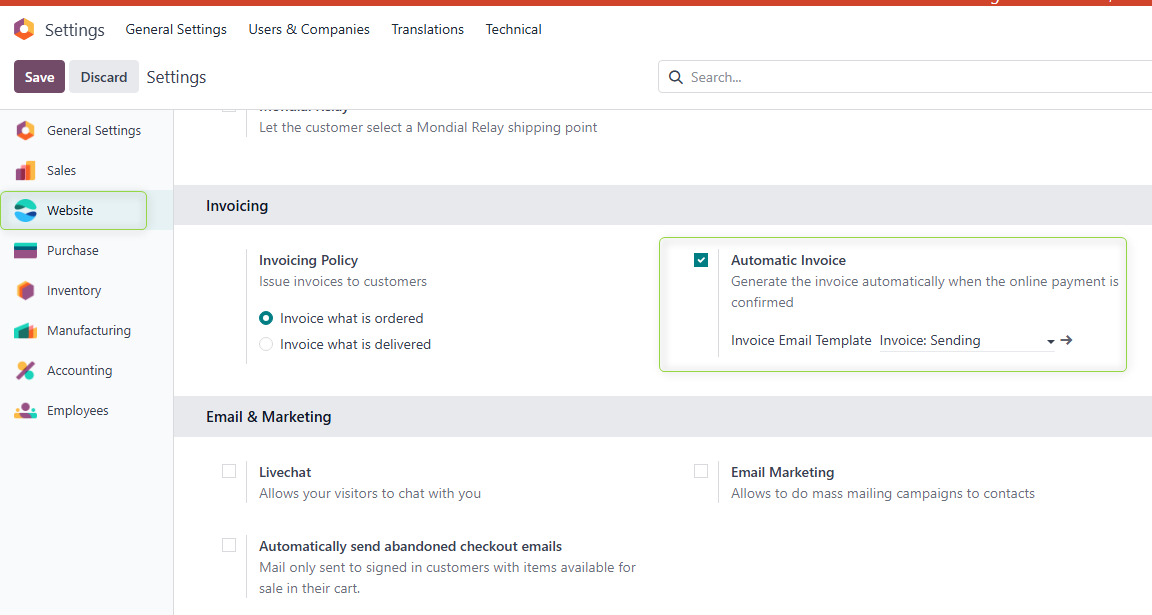
- In General Settings → Website, enable the Automatic Invoice option to automatically create invoices when orders are placed from the website
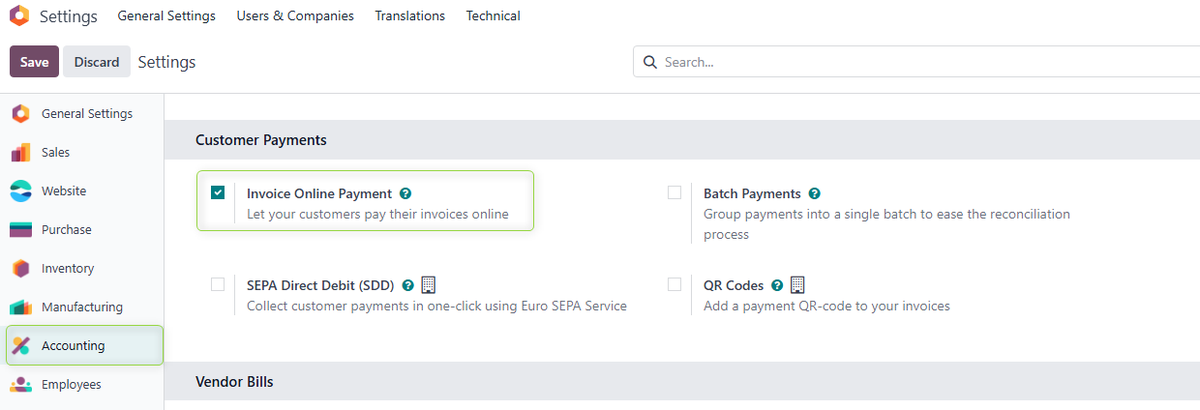
- In General Settings → Accounting (Invoicing), enable the Invoice Online Payment option to allow creating payment links from Sales Orders and Invoices.
LiqPay payment provider configuration
- Automatic creation of the provider when the module is installed
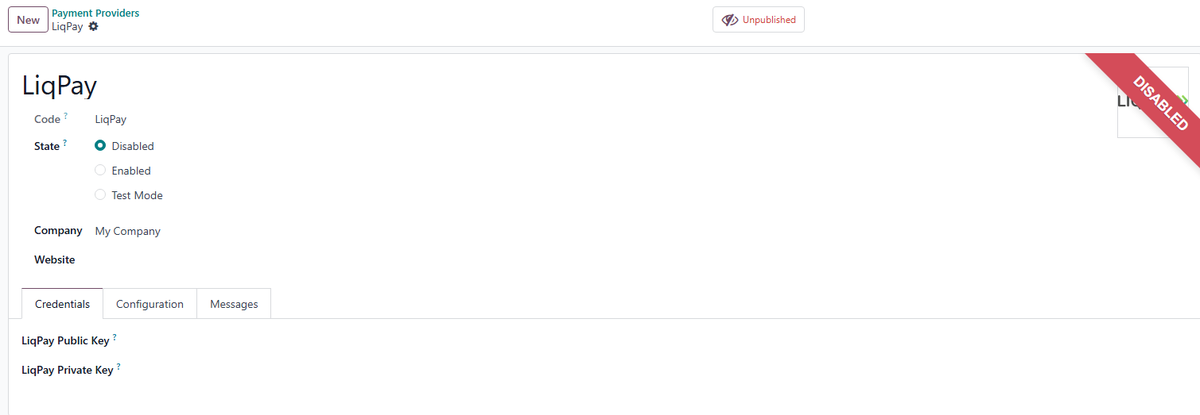
After the LiqPay Website Payments module is installed, a payment provider in the "Disabled" state is automatically added in the database for each existing company
How to find a provider:
- Go to the menu Accounting (Invoicing) → Configuration → Payment Providers
- or Sales → Configuration → Payment Providers
For each active company:
- a separate provider record with code = liqpay is created;
- the initial state of the provider is Disabled;
- the provider is not available on the website and in the Payment Link until it is configured and activated.
- Working in a multi-company environment
In a database with multiple companies:
- when the module is installed, the LiqPay provider is created separately for each company;
- LiqPay settings (keys, journals, etc.) are company specific — unique for each company;
- when switching the active company (Company A → Company B), the Payment Providers list shows the LiqPay provider of the currently active company with its own settings.
- LiqPay key fields
To activate LiqPay, go to: Accounting (Invoicing) → Configuration → Payment Providers or Sales → Configuration → Payment Providers
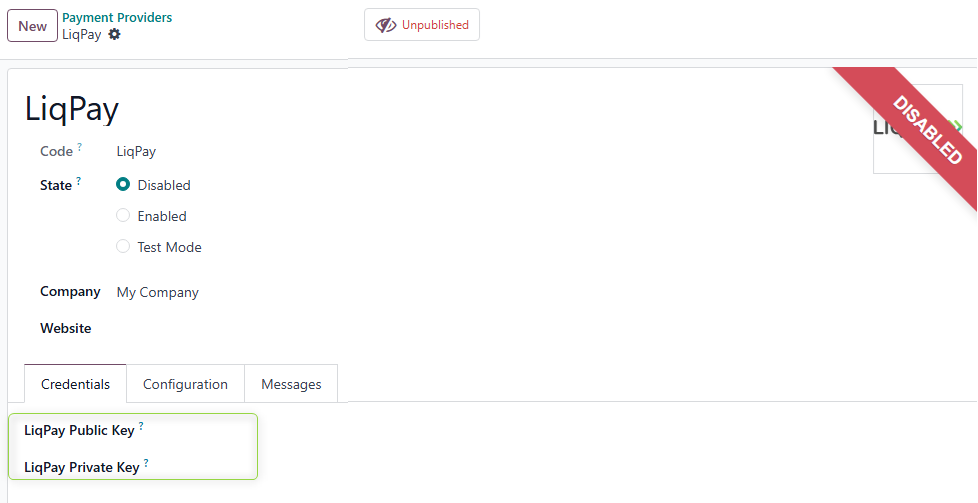
In the LiqPay provider form, on the Credentials tab, you must fill in the fields:
- LiqPay Public Key
- LiqPay Private Key
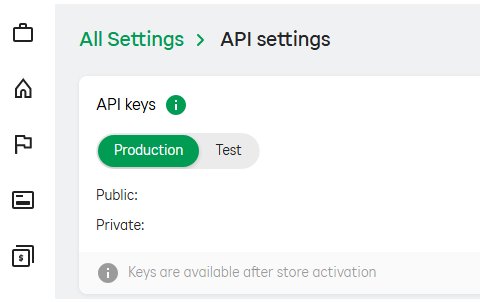
To obtain the keys, log in to your LiqPay account, go to Settings → API → API keys → Live keys, and copy the values from the “Public” and “Private” fields.
Paste the copied values into the LiqPay provider form in Odoo and click Enable.
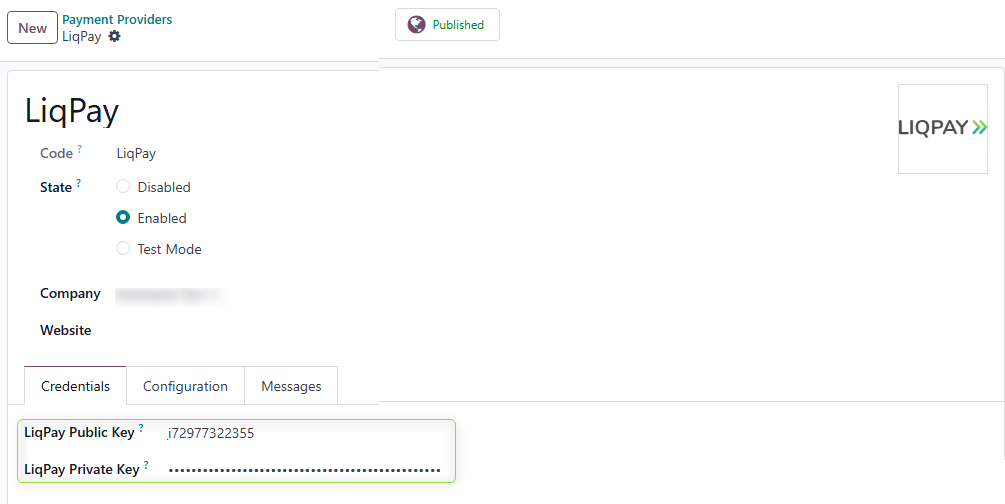
After that, the provider status will change to Published.
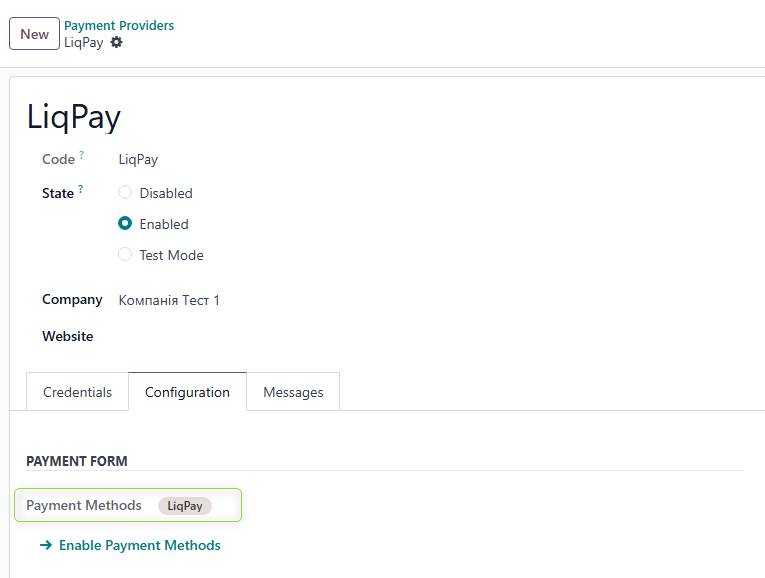
Go to the Configuration tab and find the Payment Methods field. It is automatically populated with the LiqPay payment method.
If this field is empty, open the list of all payment methods and activate LiqPay.
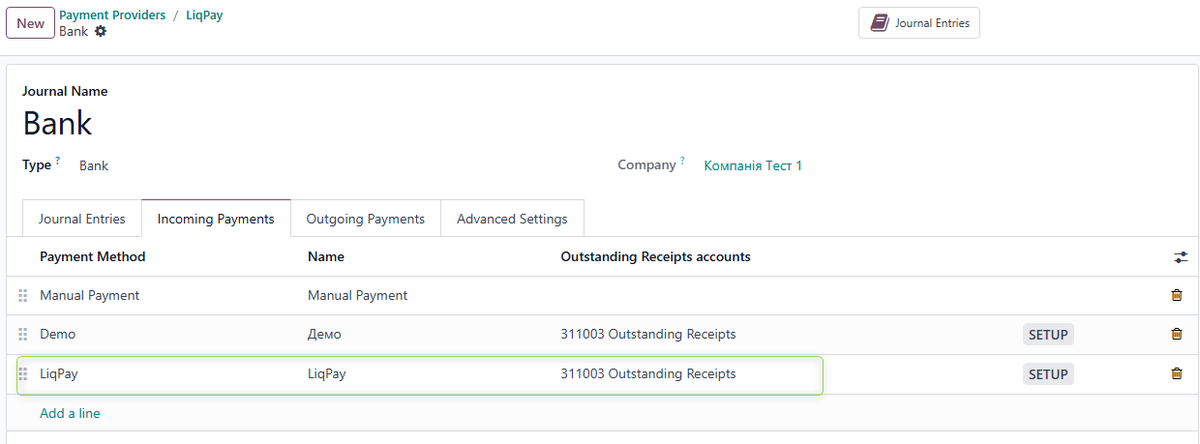
Additionally, you need to configure the bank journal in the Payment Journal field.
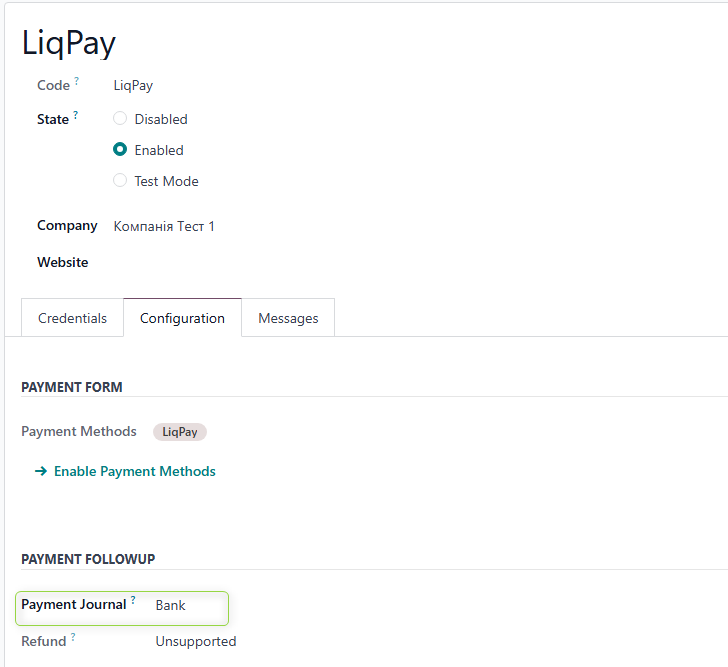
Open the required bank journal, go to the Incoming Payments tab, and specify the accounting account for the LiqPay payment method. This account will then be used to generate accounting entries for payments made via LiqPay.
Please note: for each new company created after the installation of the LiqPay Website Payments module, the LiqPay payment provider must be added manually by duplicating the provider record from another company.